Building a Temperature and Humidity Sensor with Arduino
Monitoring temperature and humidity is an essential feature in many projects, from weather stations to smart homes. In this guide, I will show you how to build a simple temperature and humidity monitoring system using an Arduino, a DHT11 sensor, and an LCD display.
Erika Šehić
2/21/20251 min read
Required Components
Arduino Uno (or compatible board)
DHT11 temperature and humidity sensor
10kΩ pull-up resistor (if required by the sensor)
16x2 LCD display with I2C module
Breadboard
Jumper wires
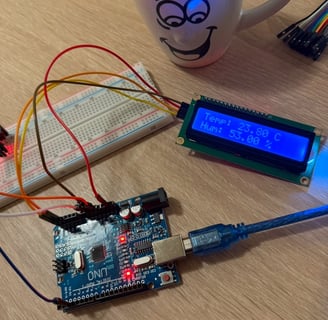
Wiring Diagram
Connect the VCC pin of the DHT11 sensor to the 5V pin on the Arduino.
Connect the GND pin of the DHT11 sensor to the GND on the Arduino.
Connect the data pin of the DHT11 sensor to digital pin 2 on the Arduino.
Connect the SDA pin of the I2C LCD to the A4 pin on the Arduino.
Connect the SCL pin of the I2C LCD to the A5 pin on the Arduino.
Connect the VCC and GND of the LCD to 5V and GND on the Arduino.
Arduino Code
#include <Wire.h>
#include <LiquidCrystal_I2C.h>
#include <DHT.h>
#define DHTPIN 2
#define DHTTYPE DHT11
DHT dht(DHTPIN, DHTTYPE);
LiquidCrystal_I2C lcd(0x27, 16, 2);
void setup() {
lcd.init();
lcd.backlight();
dht.begin();
}
void loop() {
int h = dht.readHumidity();
float t = dht.readTemperature();
if (isnan(h) || isnan(t)) {
lcd.setCursor(0, 0);
lcd.print("Sensor Error");
return;
}
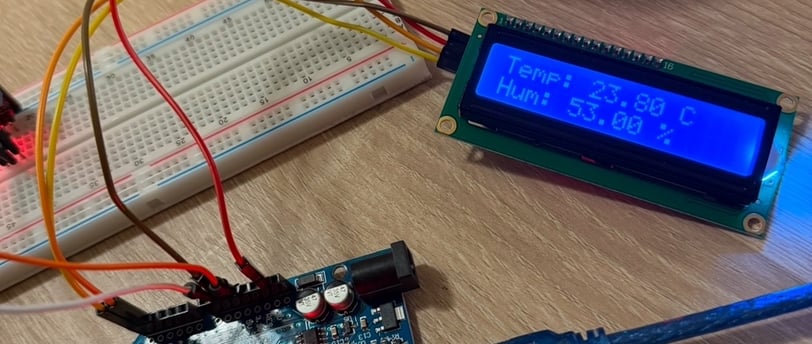
lcd.setCursor(0, 0);
lcd.print("Temp: ");
lcd.print(t);
lcd.print(" C");
lcd.setCursor(0, 1);
lcd.print("Hum: ");
lcd.print(h);
lcd.print(" %");
delay(200);
}
Code Explanation
The DHT library is used to interface with the DHT11 sensor.
The LiquidCrystal_I2C library is used to control the LCD display.
The setup() function initializes the sensor and LCD.
The loop() function reads temperature and humidity values and displays them on the LCD.
If the sensor fails to provide data, an error message is displayed.
Possible Improvements
Using a DHT22 sensor for higher accuracy.
Logging data to an SD card for long-term monitoring.
Adding a WiFi module (ESP8266) to send data to a cloud server.
This project provides a great introduction to working with sensors and displays on Arduino. Try it out and let me know how it goes! 😊
