Simple Arduino project - Traffic lights
Traffic lights are a great project for Arduino beginners as they allow working with LEDs, timers, and basic programming. In this guide, I will show you how to build a simple traffic light using an Arduino and basic components.
ARDUINO
Erika Šehić
2/21/20251 min read
Required Components
Arduino Uno (or compatible board)
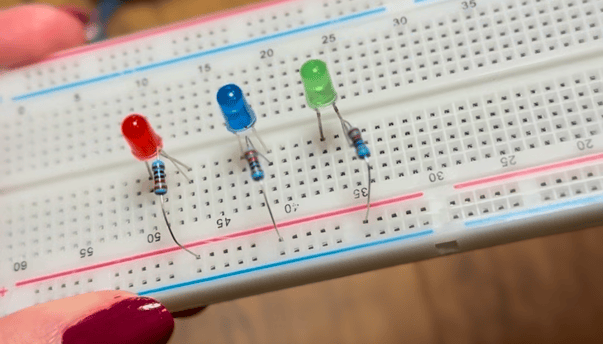
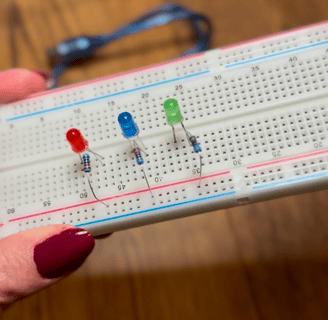
Red, blue (I used blue instead of yellow), and green LED
3 resistors (220Ω)
Breadboard
Jumper wires
Wiring Diagram
Connect the red LED to digital pin 8 via a resistor.
Connect the blue LED to digital pin 9 via a resistor.
Connect the green LED to digital pin 10 via a resistor.
Connect all cathodes (shorter LED legs) to the Arduino GND.
Arduino Code
int redLed = 8;
int blueLed = 9; // Blue instead of yellow
int greenLed = 10;
void setup() {
pinMode(redLed, OUTPUT);
pinMode(blueLed, OUTPUT);
pinMode(greenLed, OUTPUT);
}
void loop() {
digitalWrite(greenLed, HIGH);
delay(5000);
digitalWrite(greenLed, LOW);
digitalWrite(blueLed, HIGH);
delay(2000);
digitalWrite(blueLed, LOW);
digitalWrite(redLed, HIGH);
delay(5000);
digitalWrite(redLed, LOW);
}
Code Explanation
The green LED stays on for 5 seconds (go signal).
The blue LED (instead of yellow) stays on for 2 seconds (get ready to stop).
The red LED stays on for 5 seconds (stop signal).
The cycle repeats in an infinite loop.
This is a great beginner project that you can expand to make even more interesting. If you try it out, let me know how it goes! 😊
Link to video on youtube:
